
By Dawn Michelle Laguerre
Images: AI-generated conceptual illustrations for Mohawk Valley Voice, not documentary photographs.
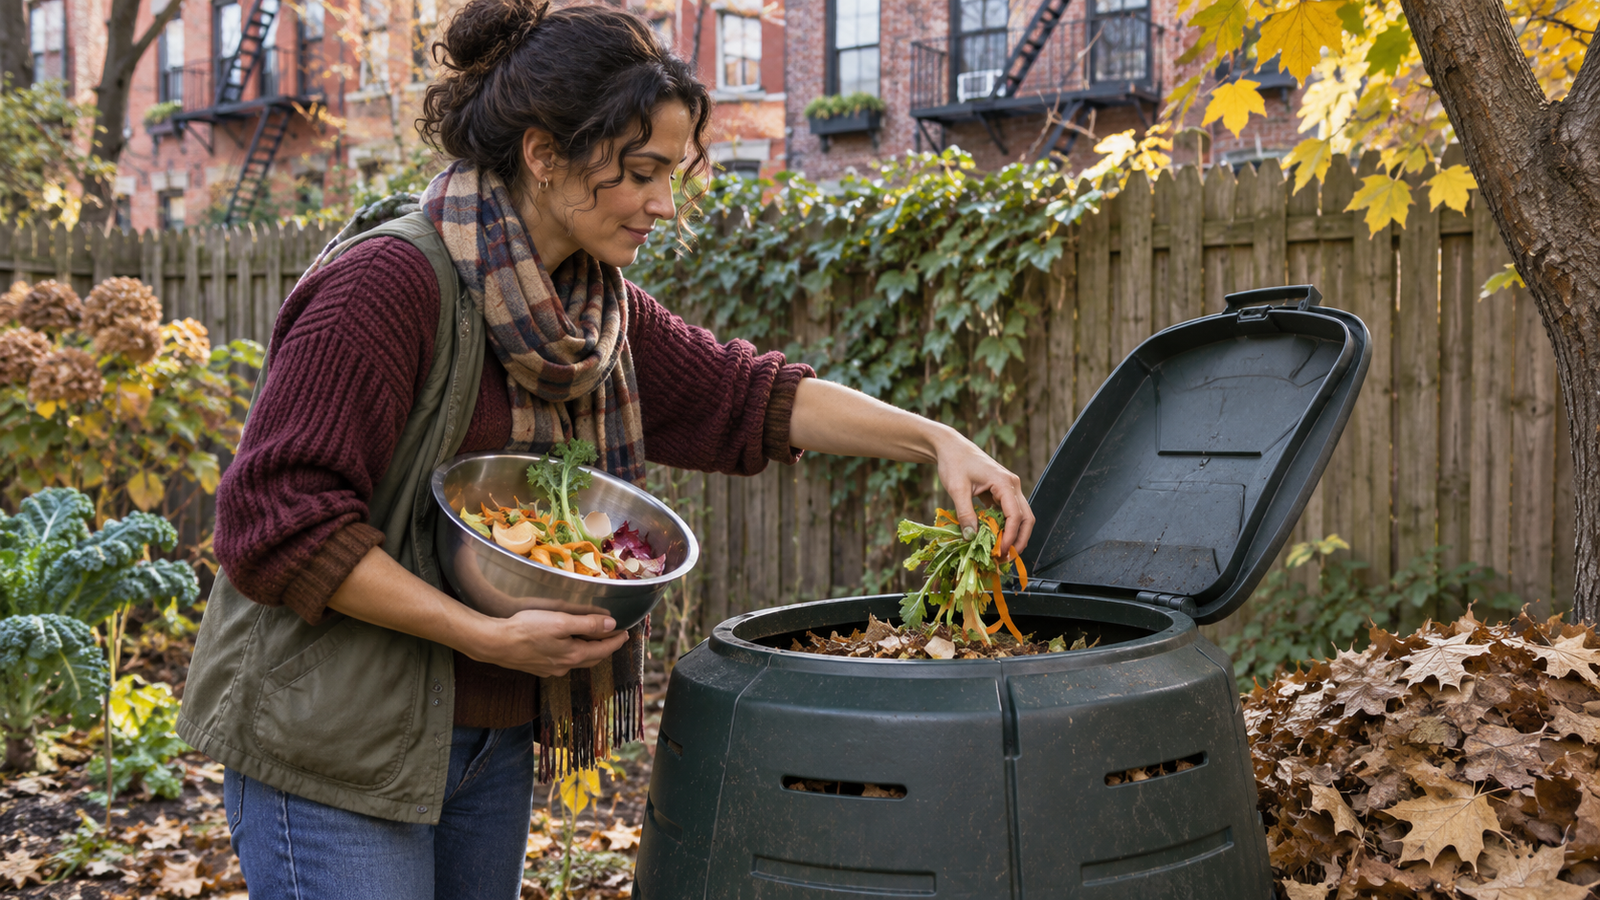
An apple core and a bag of dry leaves can be the start of a backyard compost pile. The harder part is setting up a routine you will still use when the weather turns wet or the kitchen gets busy. Begin with a few ingredients you can identify and a spot you can reach. You can expand later, after you know what fits your household.
Composting gives some food scraps and yard material a second use. Finished compost is a soil amendment, meaning you can mix it into garden soil or use it on the surface. It takes time for the original ingredients to break down. The Environmental Protection Agency’s home composting guide explains the process and shows how to tell when a pile is ready.
Choose the spot before buying the bin
Walk the route from the kitchen to the proposed pile. Imagine making that trip in the dark after dinner or after a Mohawk Valley snowfall. Is there a clear path? Can you open the lid comfortably? Will the site be easy to reach with a bucket of leaves or a watering can?
EPA recommends a spot with good drainage that you can reach throughout the year, near a water source. If you rent or share a yard, check that you can use the spot before setting up. Decide who will empty scraps, turn the pile and keep the path clear. If no one wants that job, look for another way to handle scraps rather than committing to a large bin.
Start with a short list of ingredients
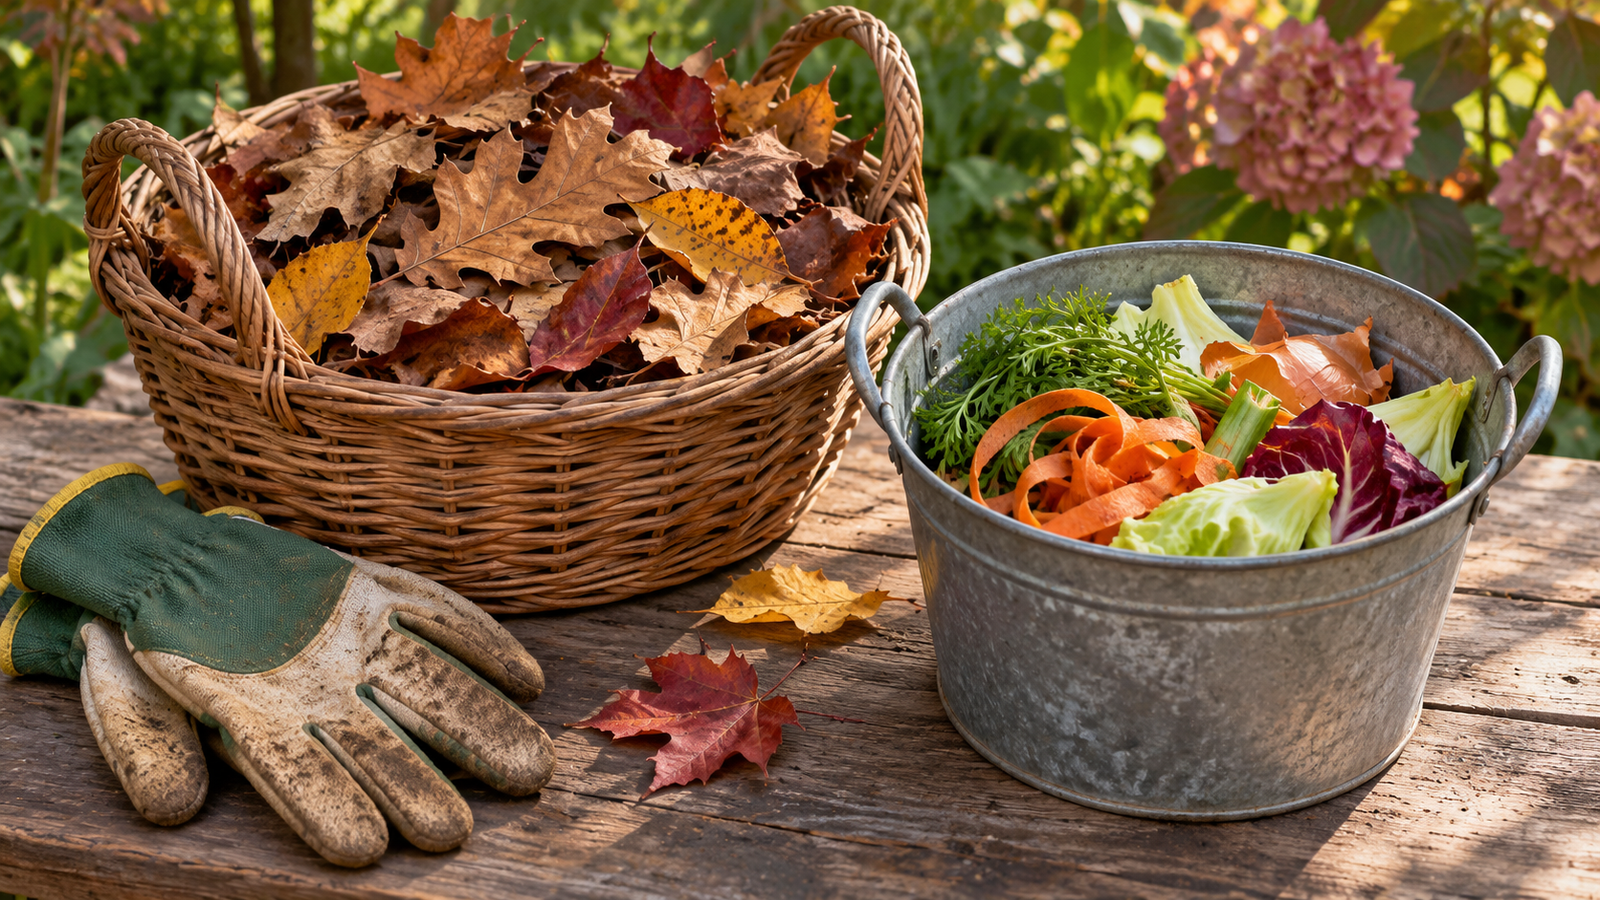
Composters often call fresh, moist materials “greens” and dry, carbon-rich materials “browns.” The names describe how they work in the pile, not just their color. The Oneida-Herkimer Solid Waste Authority’s backyard guide lists fruit peels, vegetable scraps and coffee grounds among suitable household materials. Dry leaves are a handy brown ingredient to save when you have them.
For the first batch, keep the list deliberately short. Put vegetable peelings, fruit scraps and plain coffee grounds in a covered collection container. Keep a separate supply of dry leaves outside. Before adding anything else, check the authority’s list or the EPA guide. Ask everyone who uses the kitchen to follow the same rules.
Leave meat, fish, bones, dairy, cooking oils and pet waste out of a basic backyard pile. Take stickers off produce before tossing the scraps in. A package marked compostable is not necessarily suited to a backyard bin. Check the specific material and the rules of the system you use.
Keep the dry material where you need it
Picture what happens on a busy evening. You carry a container of scraps out, lift the lid and remember that the leaves are across the yard in a wet bag. It is tempting to dump the scraps on top and deal with the leaves later. Put your dry supply close enough to use each time instead.
EPA suggests beginning with a loose layer of bulky material, such as small twigs, and covering new food scraps with browns. For each bucket of greens, EPA recommends at least two to three buckets’ worth of browns, measured by volume. Keep food scraps under four to eight inches of dry leaves or other browns. Cut large scraps into smaller pieces if that makes them easier to mix. Close the bin when you finish, then take the collection container back inside and wash it.
Give the first batch a small, clear job
Suppose you cook with fresh vegetables twice a week and rake leaves in the fall. Set up for that amount first. At the next meal, collect only the scraps on your list. At the end of the week, check how much of the leaf supply you used. If the dry material is running out faster than you expected, cut back on collection until you can replenish it. There is no prize for accepting every scrap on day one.
Check moisture and air before adding more scraps
The local authority compares the right moisture level to a wrung-out sponge. If the material is wet and compacted, mix in dry browns. If it is dry, add some water. Turning the material helps air reach the inside of the pile. Use the local guide for a fuller explanation before changing several things at once.
If the bin smells unpleasant, pause additions long enough to look at the pile. Is a layer of food still exposed? Has rain soaked the leaves? Is the mixture packed down? Make the adjustment that matches what you see. Write down what you changed and check again before buying an additive or replacing the bin.
Give the same attention to the kitchen container. If it regularly sits full, collect less at a time or change who empties it. EPA also lists refrigerated or frozen storage for scraps as an option. Choose a routine that you can maintain rather than saving more material than the household can handle.
Know when to stop adding to a batch
At some point, let a batch finish instead of adding new food every time you open the lid. EPA recommends allowing the material to cure for at least four weeks once it no longer warms up after mixing and food scraps are no longer visible. Finished compost should be dark and crumbly, with an earthy smell.
Set aside a separate place for new scraps if you want to keep collecting while the first batch cures. Label which material is still in progress. If you can still pick out fresh food, let it keep breaking down. A calendar reminder can prompt an inspection; it cannot tell you that the material is finished.
Check the local rules if you cannot compost at home
The authority’s green waste page describes yard waste drop-off at the Utica and Rome EcoDrops for Oneida and Herkimer county residents. That listing is for yard and green waste. Do not take a bucket of kitchen scraps there on the assumption that it is covered. Check current accepted materials, hours and any charges before making the trip.
If you hear about a neighborhood scrap collection, ask the operator whether it is open to households, what materials it takes and whether it requires a particular container. A gardener willing to take dry leaves may not want food scraps. Get the answer before collecting a week’s worth.
To begin today, pick the spot, name three ingredients your household can sort and set aside a dry leaf supply. After a week, check whether the trip to the bin and the kitchen cleanup are working. Fix the step that is inconvenient before making the pile bigger.
Planning another household cleanout? Our Mohawk Valley textile reuse guide explains how to sort clothing and linens for their next use.