By Dawn Michelle Laguerre
Featured image: AI-generated illustration. Credit: OpenAI / Mohawk Valley Voice.
The chair stand exercise builds on a movement most people do without thinking about it: getting up from a seat. Practicing it slowly can turn that familiar motion into a strength exercise. You don’t need a set of weights to try it, but you do need a stable seat, a clear floor and enough control to sit back down without dropping into the chair.
This is a starting point for adults who can stand and sit safely. If you feel unsteady, have recently fallen, are recovering from surgery or have a condition that affects movement, ask your health care professional or physical therapist about the right exercise and support for you before trying it.
Before you try this exercise: Consult your doctor before starting this or any new exercise routine. Ask whether the chair stand is appropriate for you and whether you need modifications or support.
Check the chair before checking the clock
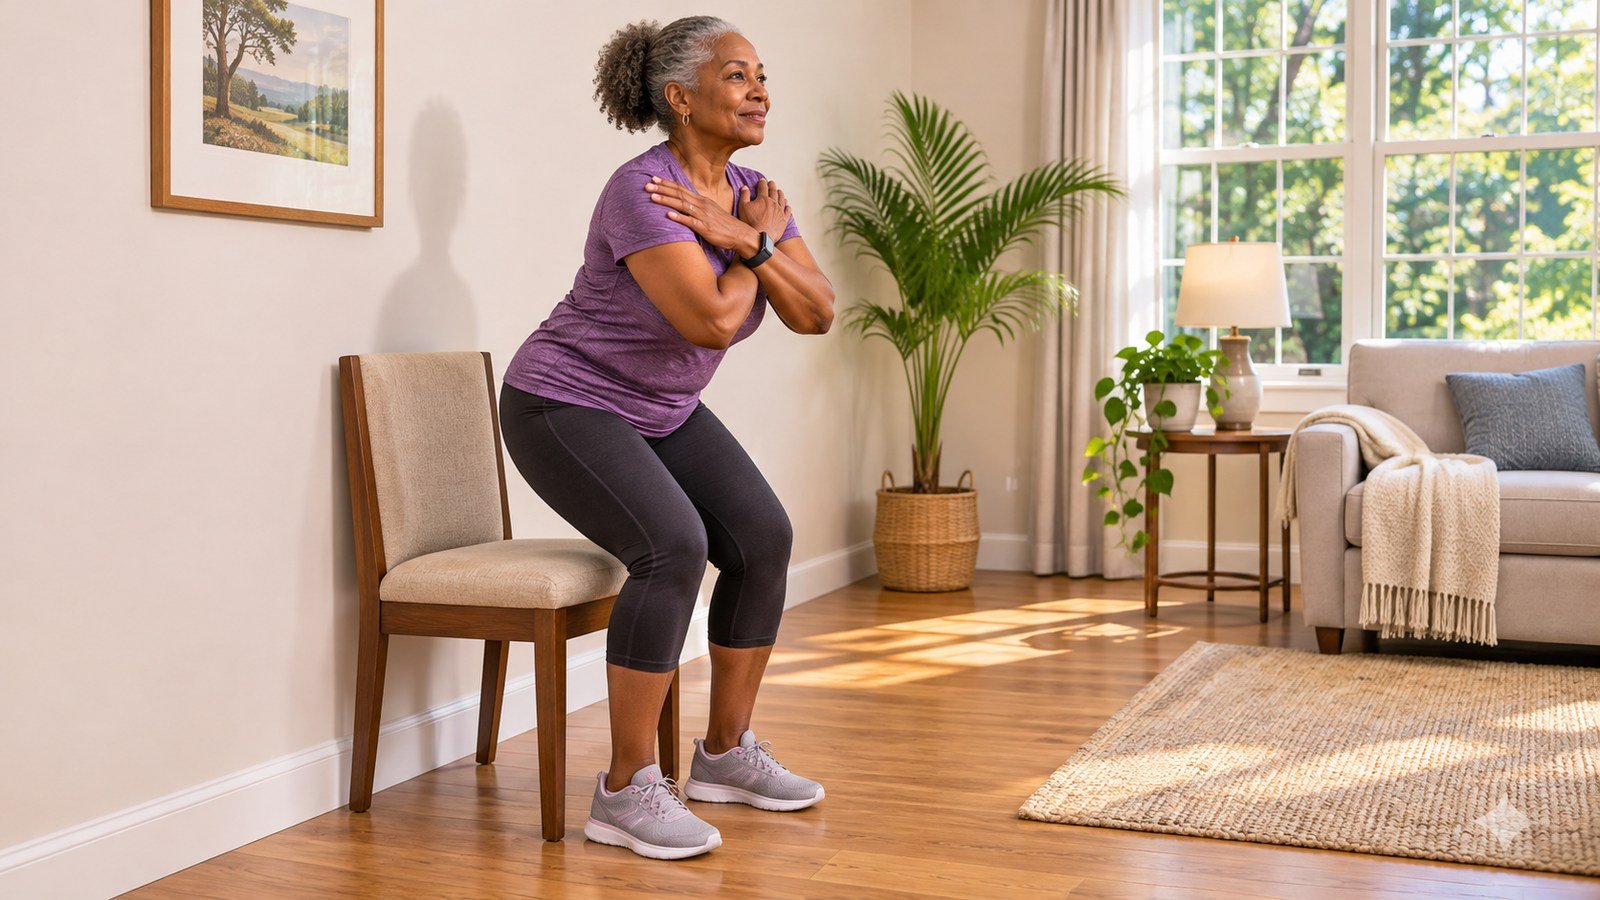
Use a solid chair that won’t roll, swivel or slide. Choose a seat height that lets your feet rest flat with your knees bent at about right angles. The NHS strength exercise guide recommends a stable chair without arms so movement is unrestricted. For this home setup, place its back against a wall and make sure the legs remain firmly planted.
A low, soft sofa isn’t a good substitute for practicing this version. Neither is a chair that rocks on an uneven floor. Clear bags, cords and loose objects away from your feet. Wear comfortable clothes and footwear that gives you a dependable grip. Leave enough room in front of the chair to stand fully without reaching toward furniture.
Look at the spot where you plan to exercise. Could a pet run between your feet? Does a door open into the chair? Move the session to a quieter part of the room if necessary. A little preparation is easier than trying to solve those problems halfway through a repetition.
Learn the movement before counting repetitions
The NHS describes the sit-to-stand as a slow rise using the legs, followed by a controlled return to the seat. Sit near the front, with your feet about hip-width apart. Lean your upper body a little forward, look ahead and rise slowly. Once upright, lower yourself gradually back to the chair.
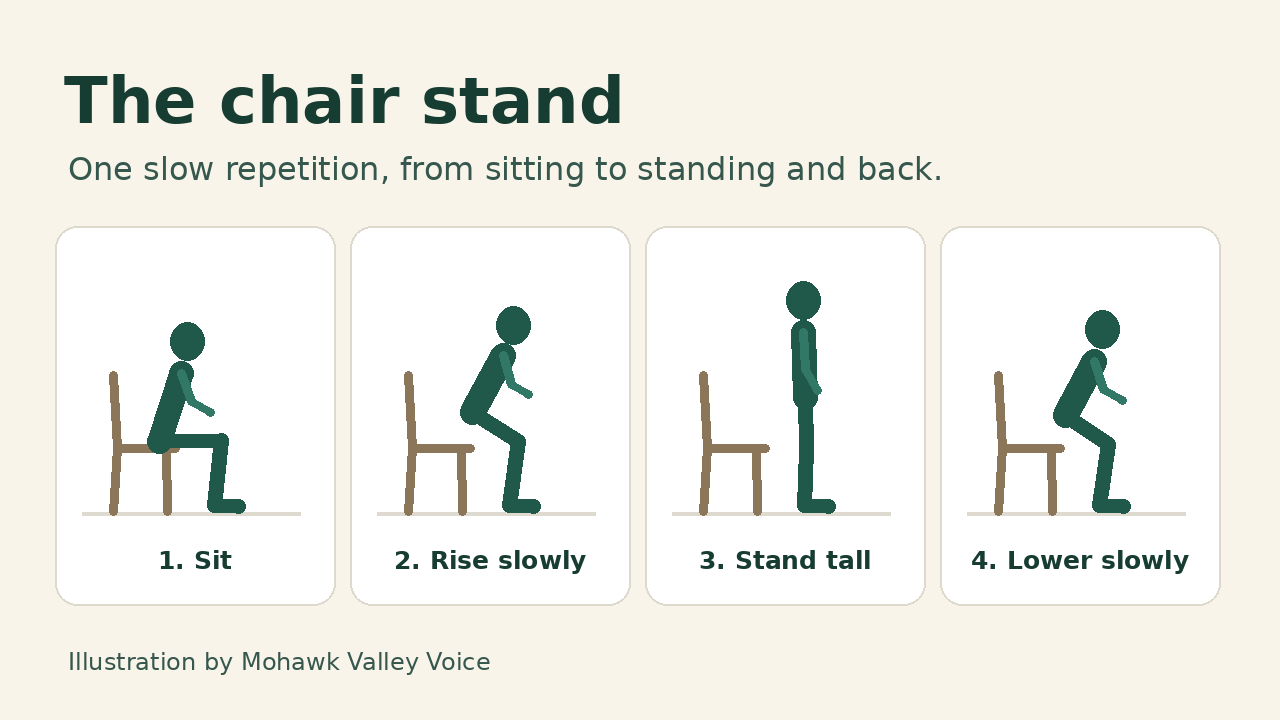
Aim for control in both directions. If you have to rock repeatedly to get moving, or you cannot lower yourself without falling back onto the seat, stop and ask about a more suitable version. The NHS allows hands or arms to guide the return when needed. Don’t treat getting rid of support as a deadline or proof that you’re doing well.
Breathe naturally through the motion. MedlinePlus guidance on exercise and fall prevention advises against holding your breath. It also says to stop if you develop pain, dizziness or breathing problems and speak with your provider before continuing.
Make the first session a practice session
Start with a few slow repetitions that you can manage comfortably. The NHS suggests working toward five for this exercise. If you can do only two well, finish there and note what made the movement difficult. The goal of the first attempt is to learn whether the chair, space and motion work for you.
Keep a short record: the date, how many controlled repetitions you did and how the movement felt. “Three, steady, chair stayed put” tells you more than a check mark alone. If you needed support, note that too. The next time, use the same setup so you can compare like with like.
This is different from a timed chair-stand test a clinician may use to assess function or fall risk. You’re practicing an exercise, not trying to diagnose yourself from a score. Leave testing and interpretation to the professional who knows your health and movement history.
Put it into a broader strength plan
MedlinePlus explains adult activity recommendations, including muscle-strengthening activity on two or more days each week and exercises that work the major muscle groups. One chair exercise doesn’t cover all of that. Think of it as one movement you can learn well before adding others that suit your needs.
A manageable plan could put a short practice session on Monday and Thursday, with other activity on the days between. If a clinician has given you a plan, follow that instead. Before the session, move easily for a few minutes rather than going straight from a long period of sitting to your hardest effort. Keep water nearby and allow time to rest.
Add repetitions gradually if the exercise becomes easier and you remain comfortable. Don’t add a faster pace at the same time. A slow, dependable return to the chair is still part of the exercise. You can ask a professional whether changes in seat height, resistance or exercise choice would make sense later, rather than improvising a harder version.
Make the setup easy to recognize next time
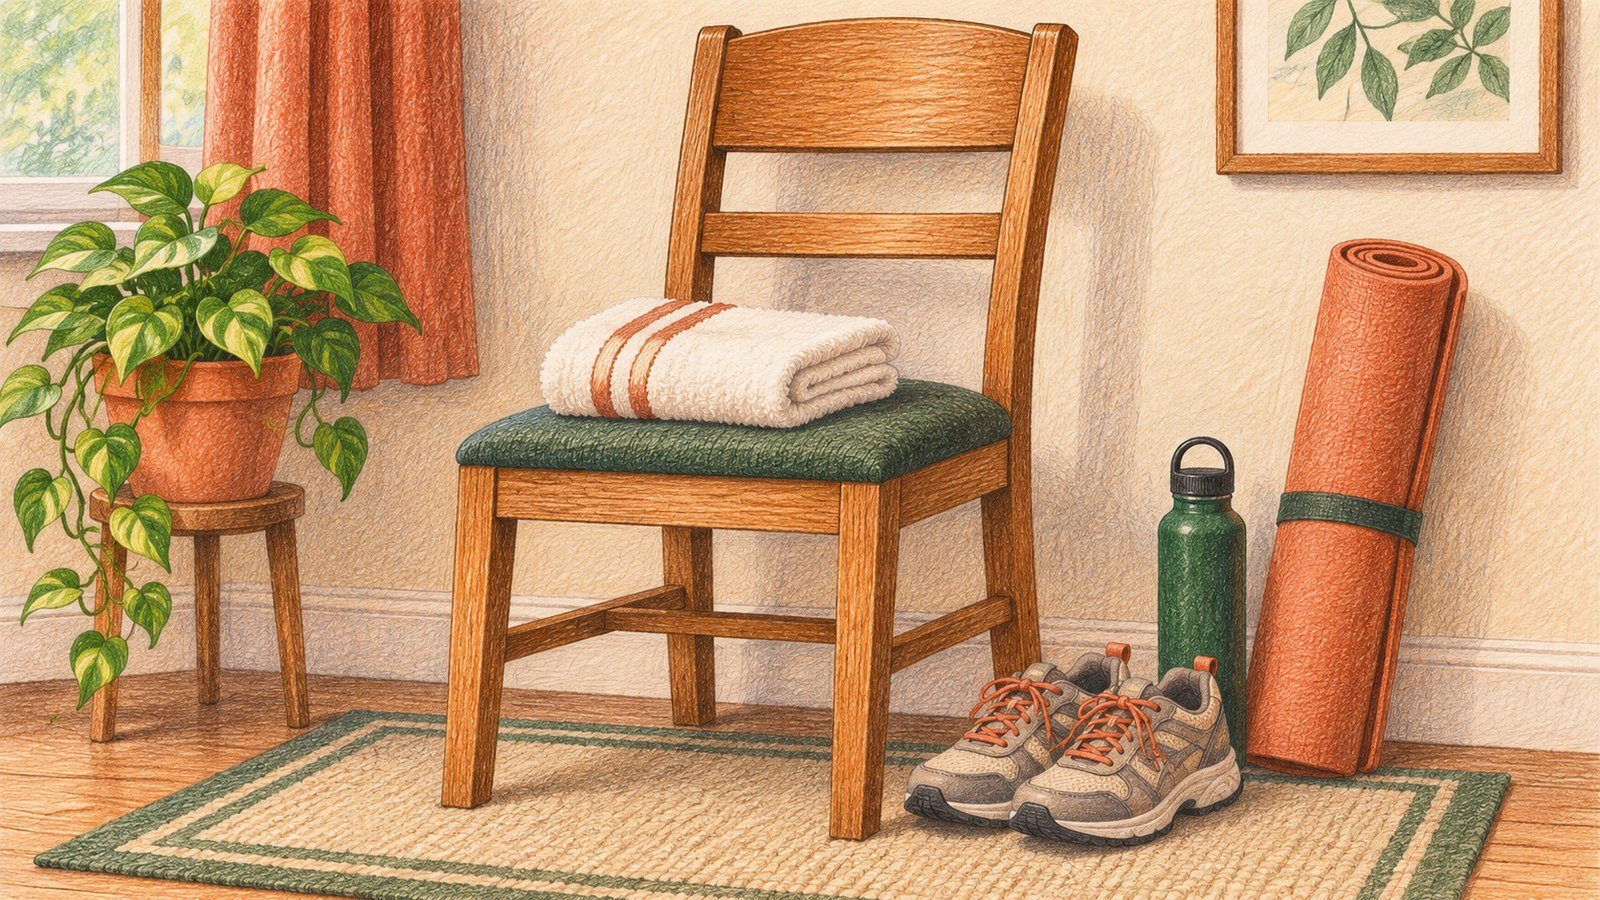
If you share the room, tell others when you plan to practice so the chair doesn’t get moved while you’re using it. Keep a written reminder of which chair and floor spot worked. If the furniture changes or you move to another room, check the setup again rather than assuming a similar-looking seat will feel the same. A chair cushion, different floor surface or different seat height can change the movement you are trying to repeat.
Choose a routine that survives a busy week
A Mohawk Valley winter can make an outdoor trip inconvenient, but a home practice slot can stay on the calendar. Pick a time you recognize, such as after your morning routine, and set up before you begin. Keep the chair available for sitting the rest of the day; you don’t need to turn a room into a gym.
If you miss a session, return to the plan at the next sensible opportunity. Don’t double the work to make the calendar look complete. Review your notes after a few sessions and ask whether you feel in control of the rise and the return. That answer is more useful than chasing someone else’s repetition count.
If home exercise isn’t meeting your needs, bring the notes to your next appointment. You can describe what happened, which chair you used and where you needed help. Start with a safe setup and one familiar movement. Build the rest of the routine around what you can repeat with control.
For a separate aerobic activity, see our guide to building an indoor walking routine.