By Dawn Michelle Laguerre
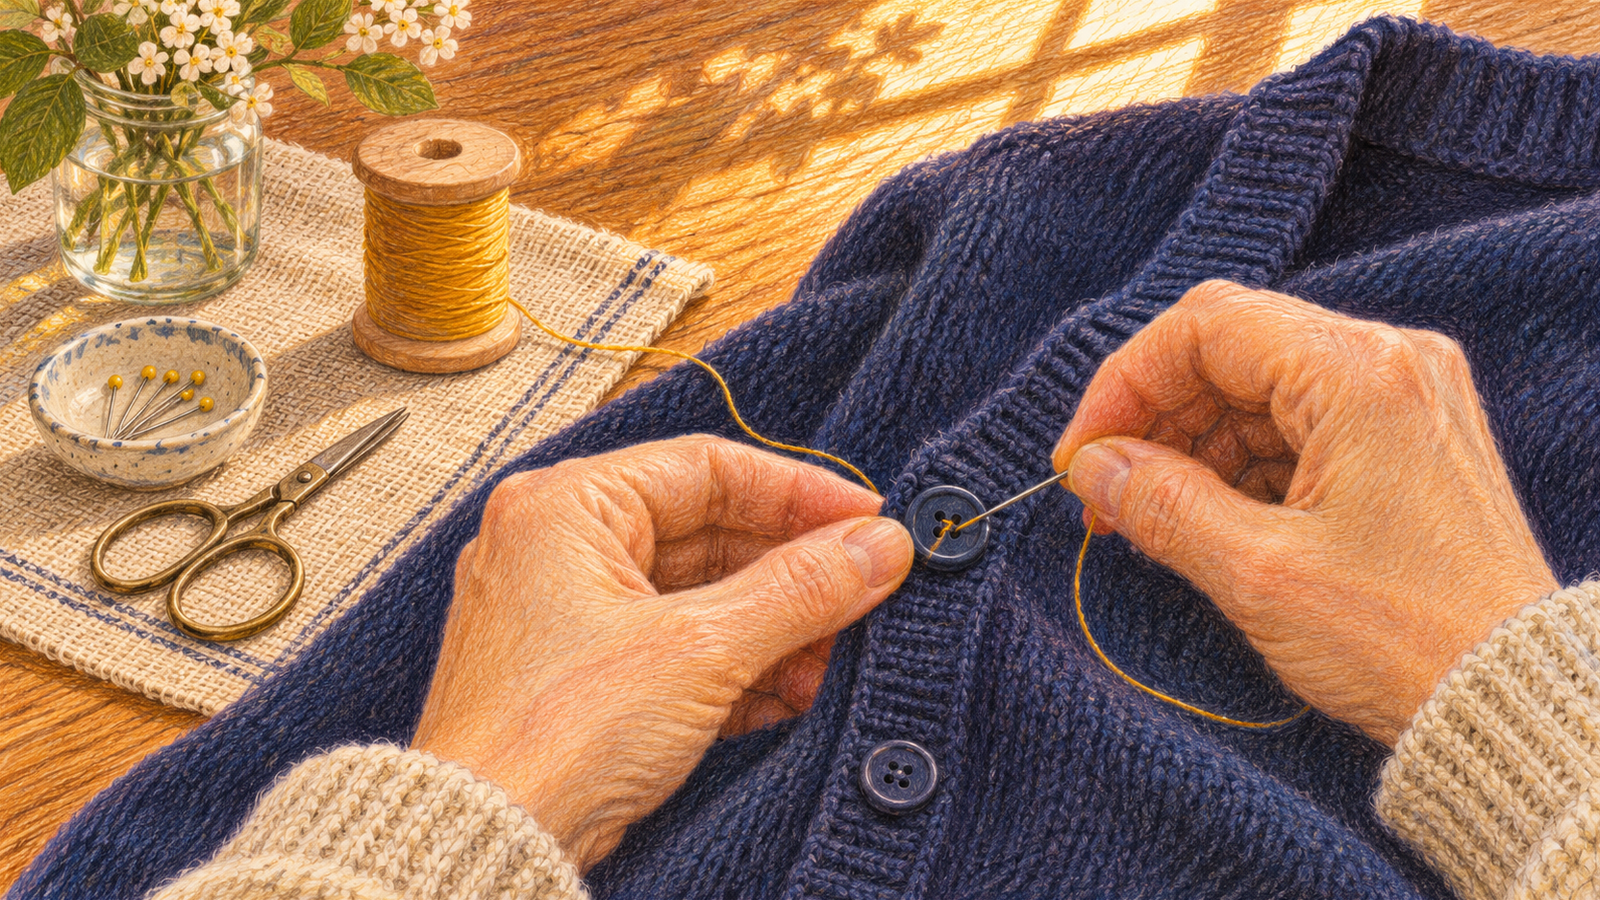
A shirt can spend months on the back of a chair because one button fell off. The repair is small enough to do at a kitchen table, and it gives you a chance to see whether the rest of the garment is worth keeping. Start with a flat button on a sturdy shirt or cardigan. To effectively sew a shirt button by hand, save a torn coat front or a delicate dress for a repair you feel ready to handle.
The University of Florida IFAS Extension guide to sewing on a button shows the difference between flat buttons and buttons with a loop underneath. This guide focuses on a flat shirt button, with a few checks that help you avoid undoing your own work.
Check what came loose
Set the garment flat and look at both sides of the spot. A few old threads often show where the button sat. If the cloth is intact, trim the loose threads so they will not tangle around the new stitches. If there is a hole or the fabric is pulling apart, stop and consider how to mend or reinforce the fabric first. A new button attached to the edge of a tear will still pull on the tear every time you close it.
Close the buttons above and below the missing one. Lay the buttonhole over its usual spot and mark the center with a small removable fabric mark, or use the old stitch holes as a guide. Check the two edges before sewing. On a shirt with a narrow front band, moving the button even a little to one side can make that part of the shirt twist when you close it.
Find a replacement that goes through the hole
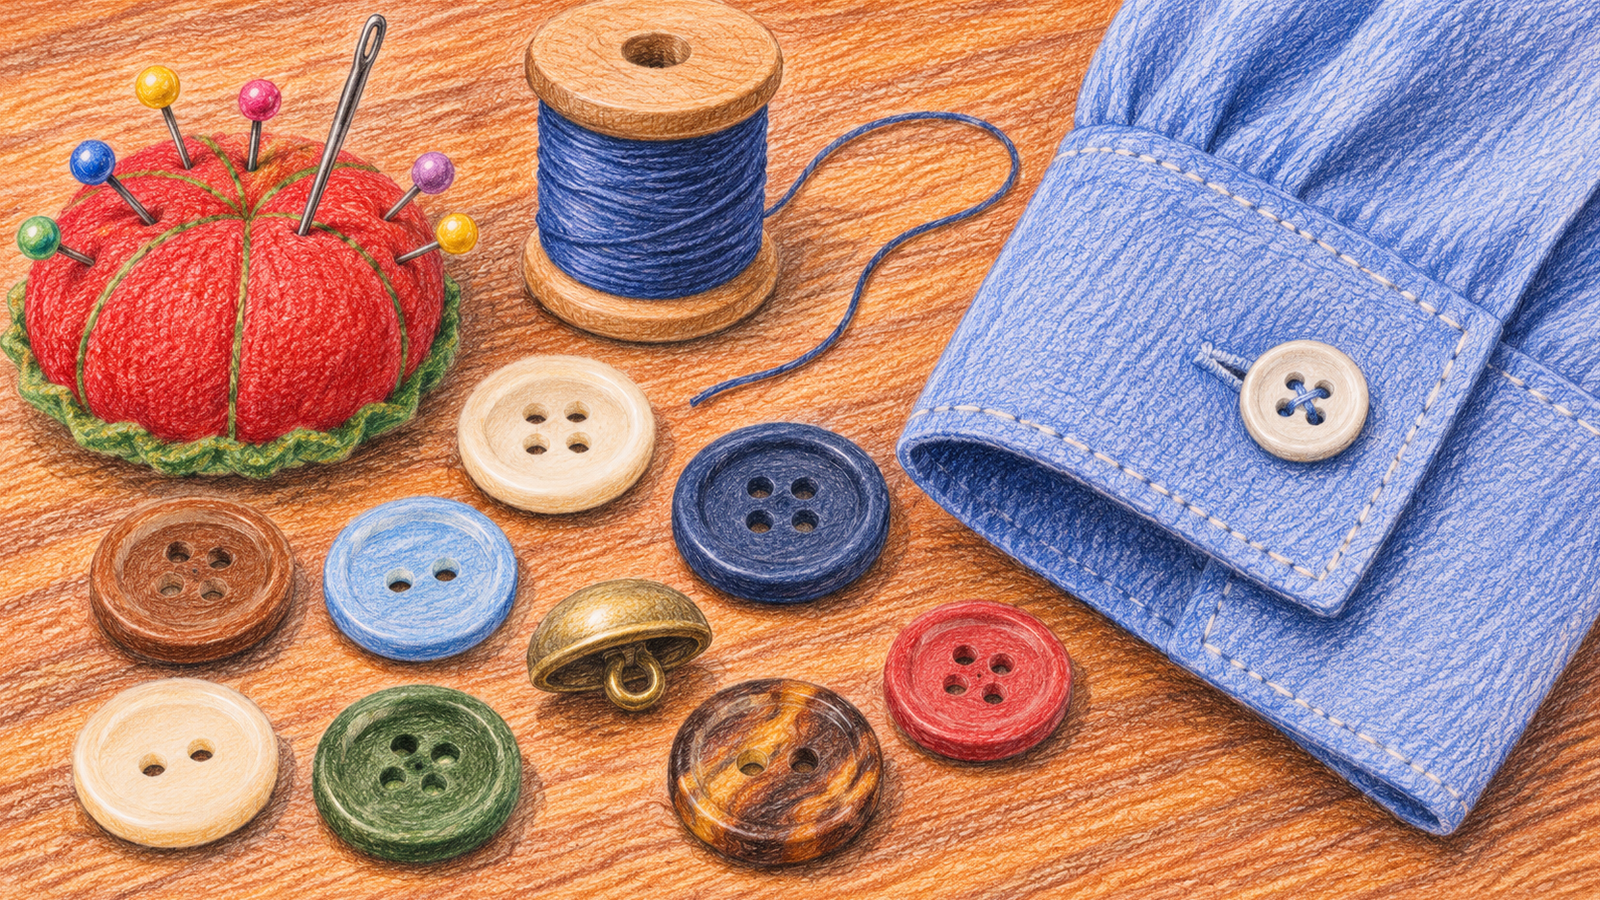
Look inside the shirt near the lower hem or the care label for a spare. If there is none, compare the missing button with the ones still on the shirt. When you can, take an existing match or the whole garment with you to choose a replacement. A similar color helps, but test the replacement through the actual buttonhole first. A button that looks right from the front can still be too thick to fit.
If an exact match matters, consider whether you can move a matching button from a less visible spot and put the substitute there. If all the buttons are prominent and you like the shirt, a coordinated set is another option. For a first repair, a missing button at the bottom of a casual shirt may be a good place to practice. You can wear it a few times and see how the stitching holds.
Set up a small, bright work area
Gather a hand-sewing needle that fits through the holes, thread close to the color of the remaining stitches, small scissors and the replacement button. Keep the needle in a pincushion or its case whenever you set it down. Put the garment where its weight will rest on the table instead of pulling it out of your hands. A lamp that lights the fabric from the side can help you see dark thread on a dark cuff.
Cut a manageable length of thread. Put it through the needle eye, bring the ends together for a doubled strand and knot them. If you have trouble finding the eye, set the needle against a light background or try a needle threader. It can be easier to practice on a scrap of similar fabric than to learn the hand motion on the shirt itself.
Match the stitch pattern on the shirt
Bring the needle up through the back of the fabric at your mark, then through one hole of the button. Hold the button in place and send the needle down through another hole and back through the cloth. Bring it up again close to the first stitch. Repeat several times, checking that the button stays centered and that you are catching only the intended layer of fabric. For a cuff, make sure you are not accidentally sewing both sides together.
For a four-hole button, look at the neighbors. They may have two parallel bars or crossed stitches. Work one pair of holes at a time and match the pattern. Take care not to pull so hard that the fabric puckers. On thicker fabric, the Extension guide shows how to leave a small space under a flat button and wrap thread around the stitches beneath it. That short thread stem gives the fabric room to sit when the button closes. For a thick coat with a special fastening or damaged lining, ask an alterations shop what repair is needed before you start.
Tie off and test before wearing it
Bring the needle to the back of the garment. Pass it under a stitch, then through the loop you made, and tighten the knot close to the cloth. Repeat to secure it before trimming the thread. Check that the knot is on the inside and that no loose thread is catching on the front.
Close and open the button a few times with the garment flat. Then try the shirt on and move your arms. If the button feels tight but goes through easily when the shirt is flat, check whether it needs more space underneath or whether the location is pulling the two sides out of line. If the button shifts easily from side to side, check the stitches before wearing the shirt for a full day.
Make the next repair easier
Put spare buttons in an envelope marked with the garment name or keep them sewn inside where you can find them. Store the needle, a small spool and scissors together. If a button starts to wobble after a wash, deal with it while you still have the original. In a Mohawk Valley winter, that little check can save a last-minute search for a spare when it is time to pull a warm cardigan out of the closet.
Once you can match one button and sew it in the right place, the next repair starts with a decision you already know how to make: fix the fastening, or get help with the fabric beneath it.