By Dawn Michelle Laguerre
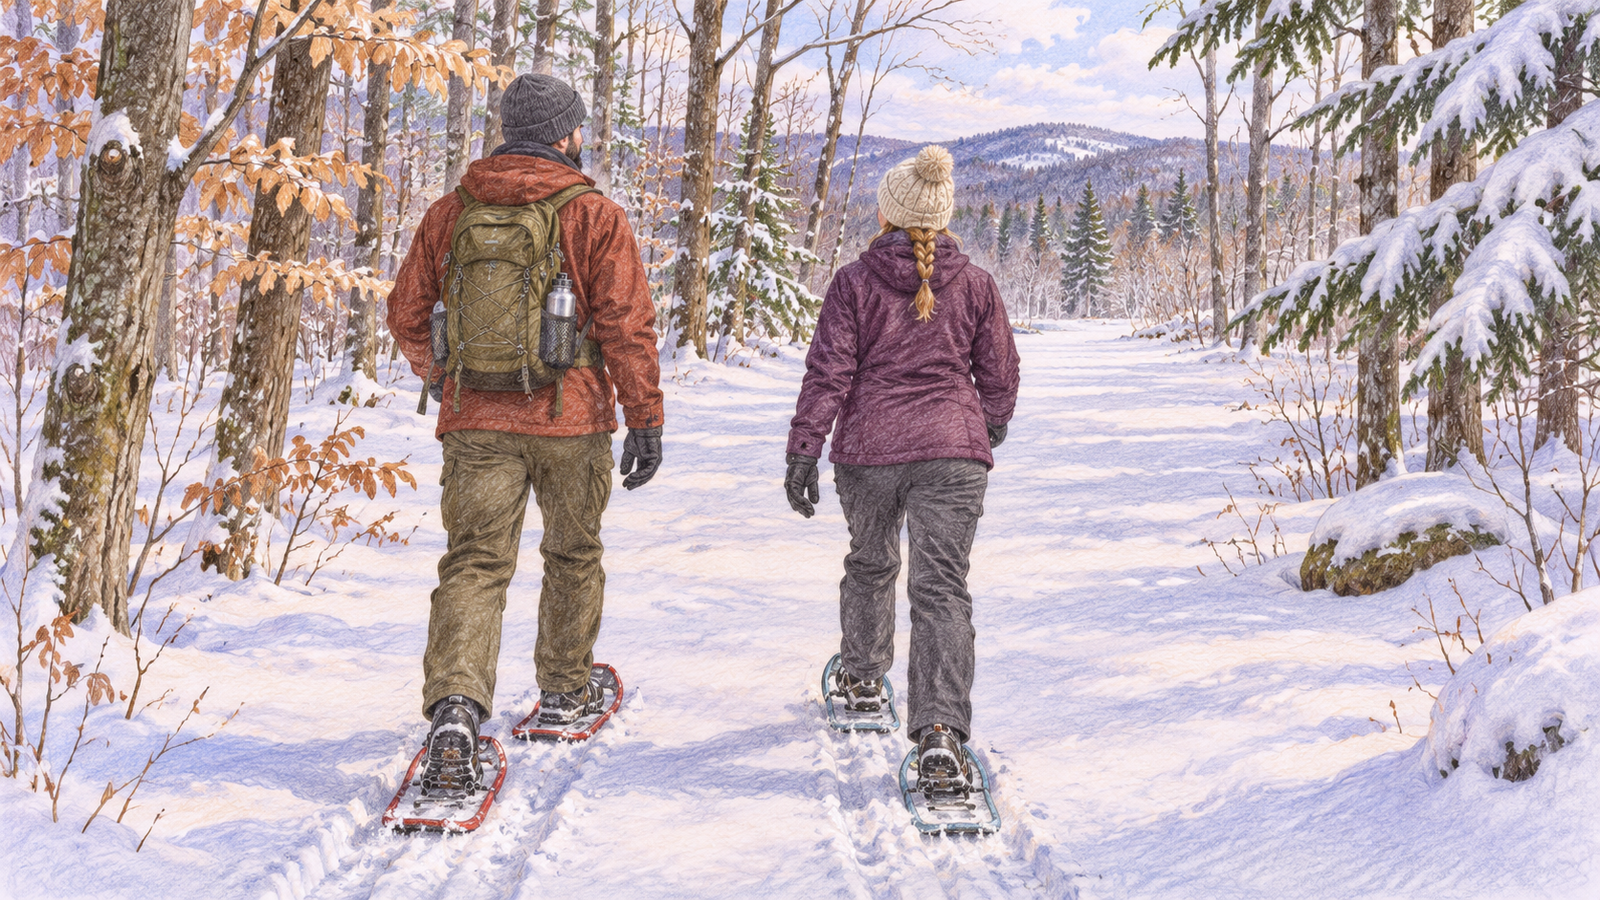
A first snowshoe outing can be as simple as a short trip down a wide, snowy path and back. Choose a place you can leave easily if the snow is deeper than expected, the straps are uncomfortable or the weather turns. Save the long loop and the steep climb for a day when you know how the gear feels.
In the Mohawk Valley, a route that looks easy on a summer map may be a different outing in winter. An icy section, an unplowed parking area or an early sunset can change the plan. The New York State Department of Environmental Conservation’s winter hiking guidance is a useful starting point. Use it alongside current information from the land manager, not a photo or trip report from a different weekend.
Pick a short route with an easy exit
Look for a marked trail with gentle terrain, a clear starting point and a straightforward return. A short out-and-back route gives you a useful option: turn around without needing to finish a loop. Review the map for crossings and junctions. If you cannot tell which branch takes you back, choose a simpler route for the first trip.
Before leaving, confirm that the trail is open, snowshoes are allowed and the entrance and parking area are accessible. Ask whether certain tracks are reserved for skiers or whether the site has separate winter paths. If you are borrowing or renting gear, confirm the fit, hours and return deadline directly. Do not count on rentals being available at a trailhead.
Compare two possible routes rather than trying to make one work at any cost. A nearby level path with a clear report can be a better first choice than a scenic trail whose current condition is unknown. If the path you chose is closed or icy, use the backup or call off the trip. A different activity is a perfectly useful outcome.
Try the fit before heading down the trail
Use the boots and socks you intend to wear. Follow the binding instructions for your model and practice fastening and releasing each shoe while wearing gloves. Ask a rental shop or experienced companion to show you what a secure fit looks like if you are unsure. Adjust the gear somewhere you can sit and take your time rather than at a windy trail junction.
Once at the trailhead, check the fit on a short, level stretch of suitable snow. Keep the group together. If a shoe shifts or a strap loosens, stop and adjust it before walking farther. Give yourself space to turn, and start at a pace you can keep without rushing. If you cannot move comfortably in the equipment, end the test there.
Snowshoes are intended for snowy conditions; they do not make every icy route appropriate. DEC discusses traction equipment separately. If conditions call for skills or equipment you do not have, choose another outing rather than improvising. The agency also notes a snowshoe or ski requirement in the High Peaks Wilderness when snow is deeper than eight inches. Check the rules for the specific place you plan to visit.
Make a backup plan that still gets you moving
Write down a second activity that does not depend on the same trail conditions. For example, if the parking lot is closed, an open, cleared walking route may suit the group better than hunting for a different snowy trail at the last minute. If the weather itself is the problem, save the outdoor trip for another day. Keeping the date flexible makes it easier to choose good conditions.
Dress and pack for time outside, including stops
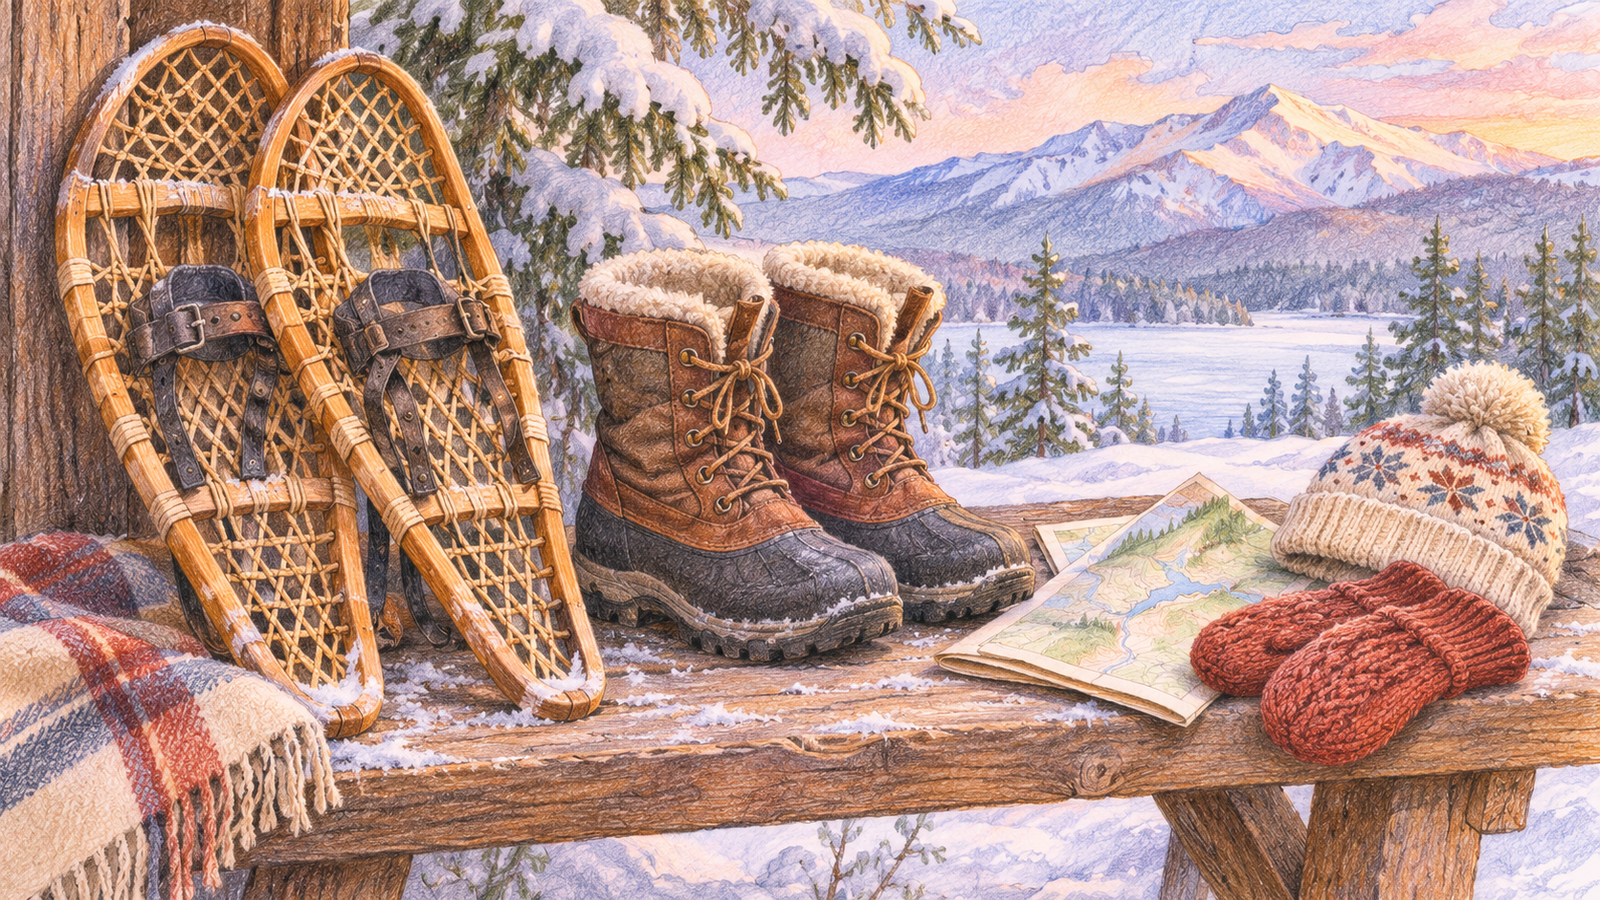
DEC recommends layers that move moisture away from your skin, insulation and a protective outer layer. Bring a hat, gloves or mittens, and warm boots suited to winter conditions. Think about what you will wear while adjusting equipment or waiting for someone, as well as what feels comfortable while moving.
Use the agency’s Hike Smart NY essentials list to prepare a pack for the route. Check navigation, a separate light and batteries, water, snacks, extra clothing and basic first aid. Put items you may need quickly where you can reach them. A map is more useful if you have looked at it before the trip and know how to find your starting point.
Split shared items only after checking what each person will have. If one person carries all the water or the only map, the rest of the group depends on staying with that person. For a first outing, stay together and keep the plan simple enough that everyone can describe it.
Set the turnaround before you start
Check daylight, forecast and current trail reports. DEC recommends going with at least one other person and sharing the route and expected return with someone who is staying home. Tell that person when you will check in and what to do if you do not. Do not assume your phone will have service along the route.
For example, suppose your group decides to walk out for no more than 20 minutes before turning back. That is an example, not a training target. A loose binding, slow footing or a cold companion can make the actual outing shorter. Build in time for the return, stops and unexpected delays. Do not extend the outing simply because you reached the turnaround sooner than you expected.
Agree on a few clear reasons to stop: a route you cannot identify, changing weather, a gear problem you cannot fix or a pace that leaves someone behind. State those conditions before the trip so that turning back feels like following the plan, not letting the group down.
Use the first trip to learn what to change
After you return and check in, note the condition of the snow, how the bindings felt and what you actually used from your pack. Dry and store the gear as its instructions direct. If the first route was too long or the trailhead was difficult to reach, pick an easier setup next time.
A successful first outing does not need an impressive distance. You should come home knowing whether you can fit the gear, read the route and make an early decision when conditions change. Those lessons are useful whether the next trip is on the same path or somewhere new.